
The circuit board is central to our everyday lives, even if we don’t realize it. From our smartphones and laptops to our refrigerators and washing machines, these intricate command centers carry electrical signals that get these devices up and running the way we like them.
However, like any component, circuit boards can malfunction, leading to a frustrating loss of functionality. Luckily, it is one of the most common electrical problems you can encounter so there is a good chance of successful repair. This guide will provide you with all the knowledge and techniques you need to tackle basic circuit board issues.
Identifying the Problem
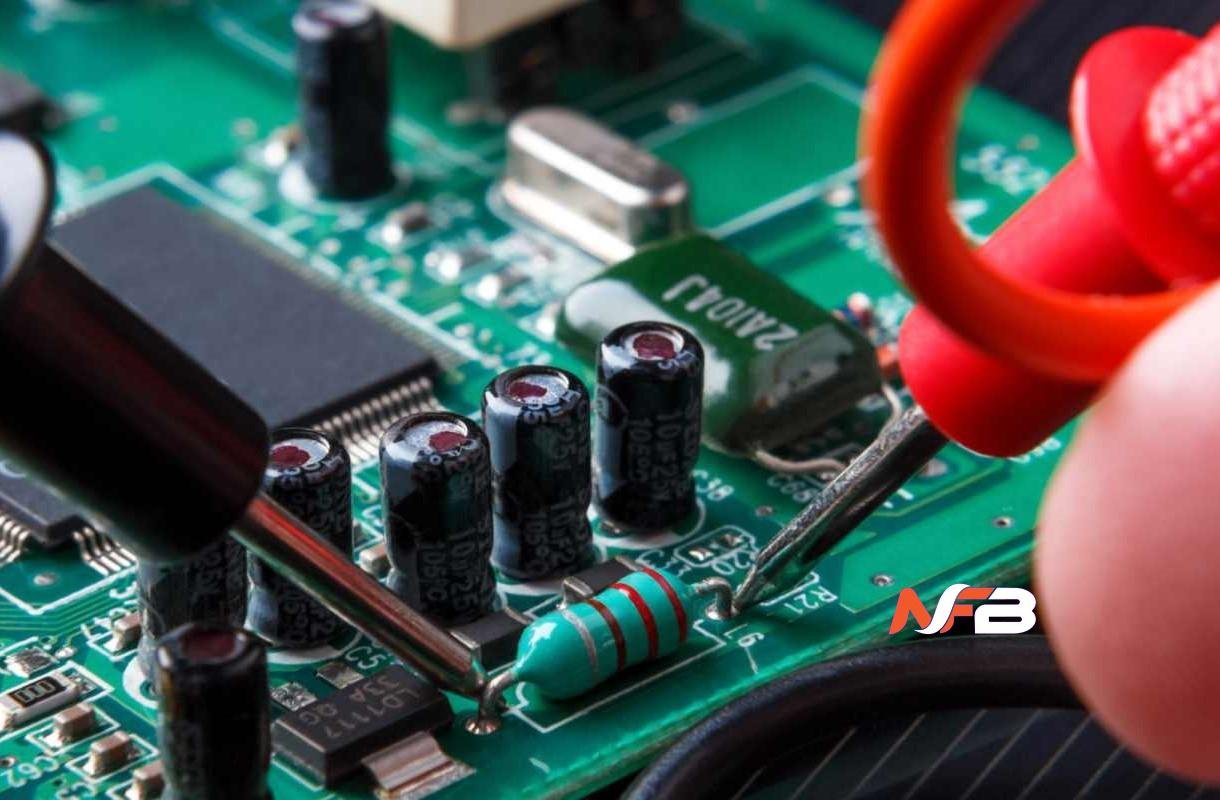
The first step is diagnosing the problem. Common symptoms of a faulty circuit board include complete device failure, flickering LEDs, unusual noises, or erratic behavior. Visual inspection can sometimes reveal the culprit – look for burnt components, bulging capacitors, or obvious physical damage to the board itself.
If you suspect a deeper issue, a multimeter is invaluable. This handy tool allows you to measure voltage, current, and resistance, providing clues about potential problems within the circuit. You can always consult your device’s user manual if you’re not sure how to correctly test points on the board.
Basic Repair Techniques
Once you’ve identified the problem component, it’s time for the repair itself. Here are some of the main techniques used by DIYers and professionals alike:
- Soldering: Every electrician, wannabe or seasoned, will use a soldering iron in their repairs. Solder is melted by the heated iron wand to connect electrical components to the circuit board so be sure to practice good technique.
- Desoldering: Removing faulty components which involves using the above process, just to release the component instead. You can also use a desoldering pump or braid to remove melted solder efficiently.
- Replacing elements: When replacing parts of the circuit board, always use the correct specifications, especially for variable resistors like potentiometers, which can affect the circuit’s functionality if incorrectly replaced. Refer to your device’s schematics or online component databases if unsure.
- Safety first: Always remember to prioritize safety when working with electronics. Unplug the device from power and discharge any capacitors before starting repairs. You can also use PPE like safety glasses and ESD (electrostatic discharge) protection to safeguard against potential hazards.
When to Seek Professional Help
Circuit board repairs can range from simple fixes to complex troubleshooting, some you’ll be able to tackle, some you won’t. If you’re uncomfortable with the repairs or dealing with delicate SMD (surface-mount device) components, it’s best to seek professional help from a qualified electronics technician.
Scenarios where some assistance will likely be required include broken SMD components, multi-layer boards, and microprocessor issues.
Read Also:- Rogers PCB