Introduction
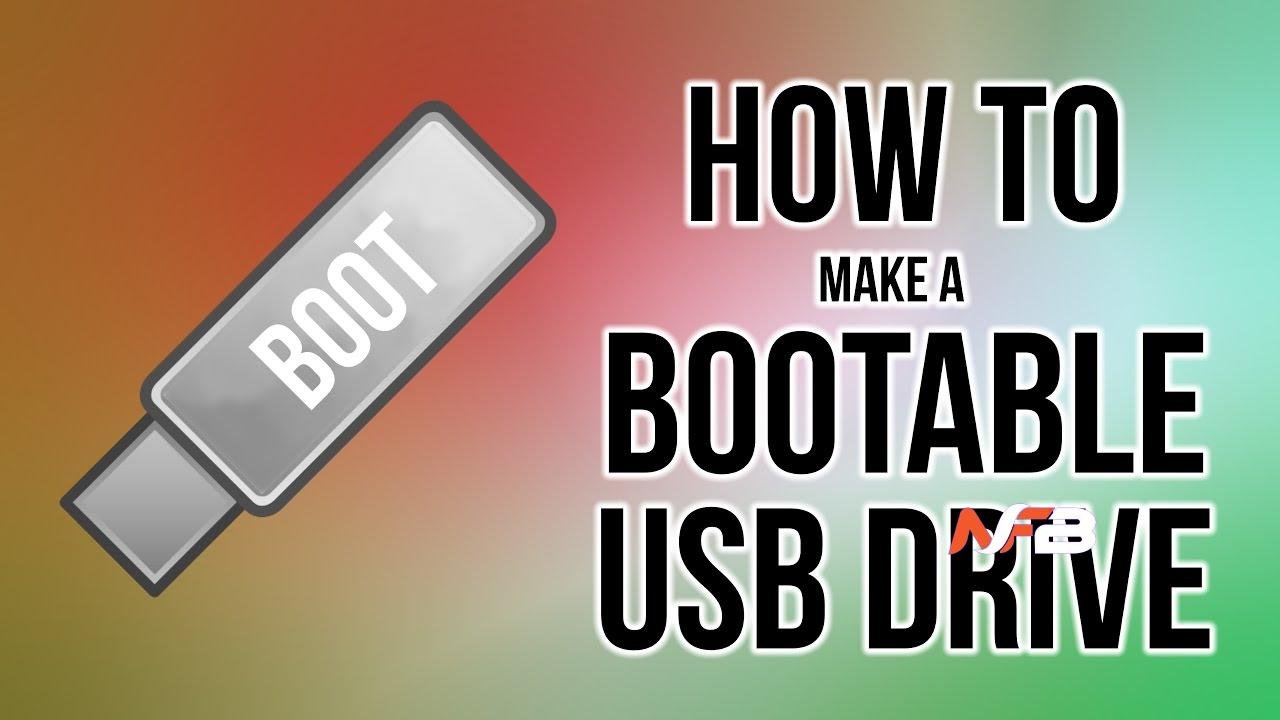
Have you ever found yourself in a pinch with a malfunctioning computer? A bootable USB stick is your first line of defence, not just a lifeline for PCs in distress, but an essential tool for computer repairs and maintenance. In this digital age, having the ability to whip up your own bootable USB drive is akin to having a Swiss Army knife in your tech toolbox. Why wait for a professional when you can take control and handle common system failures with a few clicks? Let’s delve into how you can create this versatile tool yourself.
Choosing the Appropriate ISO File
When it comes to creating a bootable USB stick, the journey begins with selecting the right ISO file. This is not merely about picking the most accessible file but choosing the one that best fits your system’s requirements. Whether you’re a PC enthusiast, an Apple aficionado, or a Linux loyalist, the choice of ISO file must be tailored to your operating system. But what exactly should you consider? Think about compatibility—does the ISO support your hardware? What about stability—are you going for a bleeding-edge release or something more tested and secure? Picking the right ISO is crucial because it determines the tools and utilities at your disposal when performing computer repairs.
Preparing Your USB Stick
With the right ISO file in hand, the next step is to prepare your USB stick. This isn’t just about dragging and dropping files; it involves a proper setup that begins with formatting your USB drive. Did you know the format of your USB stick can significantly impact its functionality? From FAT32 to NTFS or even exFAT—each file system has its advantages depending on the task at hand. Moreover, capacity plays a pivotal role too. Are you aiming to create a simple bootable stick with basic repair tools, or do you need a comprehensive rescue drive with multiple utilities? Your choice in USB stick capacity and formatting can make or break the boot process.
BIOS and UEFI Settings
Navigating BIOS or UEFI settings might seem like a dive into murky waters, but it’s crucial for ensuring your USB stick boots correctly. Whether your system uses the traditional BIOS or the more modern UEFI, understanding how to tweak these settings is key. First, you’ll need to access the BIOS or UEFI menu—usually by pressing a key such as F2, Del, or Esc right after turning on your computer. Once in, the goal is to adjust the boot order to prioritize USB devices. This might sound simple, but each motherboard has its nuances. For UEFI systems, enabling the ‘boot from USB’ option might also require disabling features like Secure Boot, especially if you’re using a non-standard or older operating system on your USB stick. Are you ready to master these settings for a smoother boot experience?
Creating Multiboot Options
Why settle for one when you can have multiple? Creating a USB stick with multiboot options is like having a comprehensive toolkit at your disposal. This setup allows you to store various operating systems or recovery tools on a single USB stick, tailored to different problems or systems you might encounter. Configuring a multiboot USB requires specific software tools that can neatly compartmentalise each ISO file into its bootable segment. This way, you can switch between, say, a Linux-based recovery environment and a Windows repair toolkit without needing multiple USB drives. The flexibility and space efficiency of a multiboot USB stick make it an invaluable asset in computer maintenance.
Loading System Repair Utilities
What’s a bootable USB stick without the right tools for the job? Loading your USB with essential system repair utilities can be the difference between a quick fix and a prolonged headache. Consider including utilities for hard drive diagnostics, memory testing, and file recovery. Tools like DiskPart, CHKDSK, or even third-party applications like GParted for disk partitioning are also invaluable. Each utility has its unique strengths, so your choice should reflect the types of systems and issues you frequently encounter. Ever wondered what it’s like to be fully prepared? With a well-equipped USB stick, you’ll know.
Linking to Your Product: USB Stick from memorysticks.ie
Choosing the right hardware is as crucial as the software. For those looking to create a reliable bootable USB stick, selecting a high-quality USB drive is imperative. At memorysticks website, you can find a range of USB sticks that are perfect for these tasks. High-quality, durable, and fast—these characteristics ensure that your bootable USB stick isn’t just a one-time solution but a long-term companion for all your computer repair and maintenance needs. Why compromise when you can have the best tool for the job?
Conclusion
Creating a bootable USB stick is an empowering step towards self-reliance in computer maintenance. By following these steps—selecting the right ISO, preparing your USB stick correctly, adjusting BIOS or UEFI settings, creating a versatile multiboot setup, and loading it with essential utilities—you equip yourself with a powerful tool that can save you time and money. So, why not prepare your own bootable USB stick today and take the first step towards becoming your own computer repair expert? Your future self will thank you for this indispensable addition to your tech toolkit.
Read Also:- Revo Technologies Murray Utah


Leave a Reply