Are you looking to capture and share what’s on your Windows 10 screen? Screen capture tools are essential for a variety of tasks, from creating tutorials to troubleshooting technical issues. In this article, we’ll explore the best screen capture methods and tools for Windows 10, and how to use them effectively.
Understanding Screen Capture
Screen capture, also known as screenshot or screen grab, is the act of copying the content of a computer screen. This can be an entire screen, a single window, or a specific region. Screen Capture for Windows 10 is commonly used to save and share information, demonstrate a process, or report an issue.
Built-in Screen Capture Tools in Windows 10
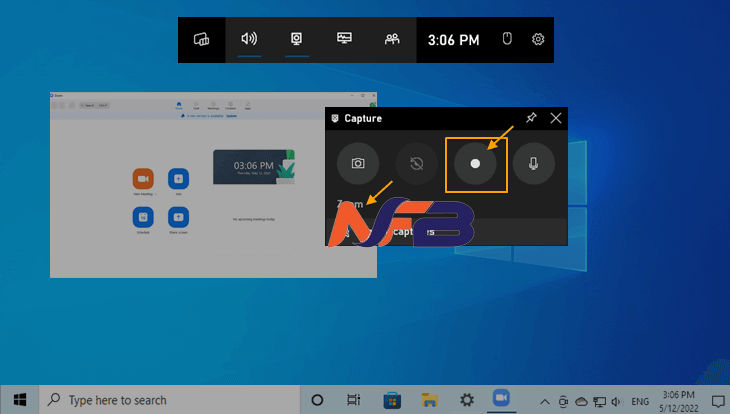
Windows 10 comes with several built-in screen capture options that are easy to use and versatile. Here are some of the most common methods:
- Snipping Tool: This tool allows you to capture a custom area of your screen and save it as an image.
- Snip & Sketch: With this tool, you can take screenshots and annotate them with a variety of tools before saving or sharing.
- Print Screen (PrtScn) Key: Pressing the “PrtScn” key allows you to capture the entire screen, and pressing “Alt + PrtScn” captures the active window only.
- Windows + Shift + S: This keyboard shortcut opens the built-in Snip & Sketch tool for quick and easy screen captures.
Third-Party Screen Capture Tools for Windows 10
In addition to the built-in options, there are several third-party screen capture tools available for Windows 10 that offer more advanced features. Some popular choices include:

- Snagit: This tool offers a wide range of features for capturing, editing, and sharing screenshots and screen recordings.
- Lightshot: Lightshot is a lightweight and easy-to-use tool for capturing custom areas of the screen and adding annotations.
- Greenshot: Greenshot is an open-source screenshot tool that allows you to capture and annotate screenshots with ease.
- ShareX: ShareX is a powerful and customizable tool that supports various capture methods and includes built-in editing and sharing options.
How to Optimize Your Screen Captures for SEO
When using screen captures for online content, it’s essential to optimize them for search engines. Here are some tips to help you do that:
- Use Descriptive Filenames: When saving your screen captures, use filenames that describe the content of the image using relevant keywords.
- Add Alt Text: If you’re using screen captures on a website, be sure to add descriptive alt text to the images to make them accessible and improve SEO.
- Compress Images: Large image files can slow down your website, so be sure to compress your screen captures before uploading them.
- Include Relevant Content: Surround your screen captures with relevant text content that includes your target keywords to improve their SEO value.
Conclusion
Screen capture is a valuable tool for anyone using Windows 10, whether for work, education, or personal use. By understanding the built-in options and exploring third-party tools, you can find the best method for your needs. Additionally, optimizing your screen captures for SEO can help improve the visibility of your online content. With these tips and tools, you’ll be well-equipped to capture and share your Windows 10 screen effectively.


Leave a Reply