
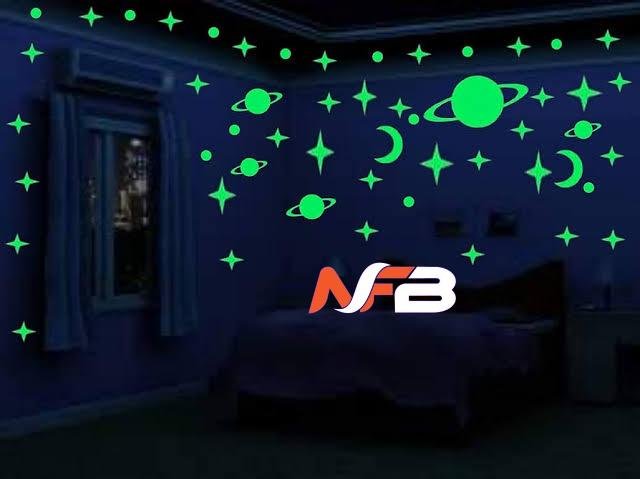
In an age where personalizing your gadgets has become a norm, glow-in-the-dark stickers for your phone stand out as a fun and creative way to add some flair to your device. Not only do they look cool, but they also serve a practical purpose by making your phone easier to find in the dark. This comprehensive guide will walk you through the process of creating your own glow-in-the-dark custom stickers for your phone, ensuring your customization project is both enjoyable and successful.
Step 1: Design Your Stickers
The first step is to decide on the designs for your stickers. This could range from simple shapes and symbols to intricate patterns and images. You have two main options for creating your designs:
1. Hand-Drawn Designs
If you enjoy drawing, you can sketch your designs directly onto the sticker paper. Use a pencil for initial sketches and then outline with a marker for clarity.
2. Digital Designs
For those who prefer digital tools, you can create designs using software like Adobe Illustrator, Photoshop, or even free online tools like Canva. Ensure your designs are the correct size for your phone and save them in a printable format.
Step 2: Prepare the Glow-in-the-Dark Material
If you are using glow-in-the-dark adhesive vinyl, you can skip to the cutting step. However, if you are using glow-in-the-dark paint, follow these additional steps:
1. Cut Sticker Paper
Cut your sticker paper into pieces slightly larger than your designs.
2. Apply Paint
Use a small brush to apply an even layer of glow-in-the-dark paint onto the sticker paper. Allow the paint to dry completely, which may take a few hours. For a more vibrant glow, apply a second coat once the first is dry.
Step 3: Transfer Your Designs
If you are working with hand-drawn designs on sticker paper, you can directly move to the cutting step. For digital designs, follow these steps:
1. Print Designs
Print your designs onto the sticker paper. Ensure your printer settings are adjusted to handle the thickness and texture of the sticker paper.
2. Cut Designs
Carefully cut out each design using scissors or a craft knife. If using a craft knife, place the sticker paper on a cutting mat to protect your work surface.
Step 4: Cut the Stickers
Now it’s time to cut your stickers to the desired shapes:
1. Trace and Cut
If you’re using adhesive vinyl, trace your designs onto the vinyl’s backing paper and cut them out carefully.
2. Use a Template
For more complex shapes, you might want to create a template to ensure precision. Cut the template from a piece of cardboard and use it to trace onto the vinyl or painted sticker paper.
Step 5: Apply the Stickers to Your Phone
Applying the stickers correctly is crucial for a polished look:
1. Clean Your Phone
Clean the surface of your phone with a lint-free cloth and rubbing alcohol to remove any dust and oil.
2. Position Stickers
Position your stickers on the phone to get an idea of the final look. You can use a piece of transfer tape to lift the sticker off its backing and position it accurately.
3. Apply Stickers
Carefully peel off the backing and apply the stickers to your phone. Press firmly to ensure they adhere well, smoothing out any air bubbles with a card or your fingers.
Step 6: Seal Your Stickers (Optional)
To ensure your stickers last longer and stay vibrant, consider sealing them:
1. Sealer Spray
Use a clear sealer spray to protect the stickers from wear and tear. Spray a light, even coat over the stickers and allow it to dry completely.
2. Clear Nail Polish
For smaller stickers, you can use clear nail polish as a sealant. Apply a thin layer over the stickers and let it dry.
Step 7: Enjoy Your Customized Phone
Congratulations! You’ve successfully created and applied glow-in-the-dark stickers to your phone. Enjoy the unique look and the convenience of easily locating your phone in the dark.
Tips and Tricks
Test Glow Strength
Before applying the stickers, test the glow strength in a dark room. If the glow is not as bright as desired, consider applying an additional coat of glow-in-the-dark paint.
Avoid Overlapping
When positioning the stickers on your phone, avoid overlapping them to ensure each sticker gets maximum exposure to light and glows brightly.
Recharge the Glow
Glow-in-the-dark materials need to be “recharged” by exposure to light. Place your phone under a bright light source for a few minutes to ensure the stickers glow optimally.
Conclusion
Creating glow-in-the-dark stickers for your phone is a fun and rewarding project that adds a personal touch to your device. With the right materials and a bit of creativity, you can transform your phone into a unique accessory that stands out in the dark. Follow this comprehensive guide to design, cut, and apply your custom stickers, and enjoy the blend of style and functionality they bring. Whether for yourself or as a thoughtful gift, glow-in-the-dark stickers are sure to impress and delight.